
Custom domain setup
Connect a branded short domain, publish the required DNS records, verify ownership, and troubleshoot setup before sharing campaign links.
Prerequisites
Before starting, ensure you have:
- A registered domain name you control, with access to its DNS settings at your registrar or DNS provider (such as Cloudflare, Route53, GoDaddy, Namecheap, or similar).
- Organization owner or admin privileges in Nimriz.
- A plan that includes custom domains (available on Plus plans and above).
- Decided which exact hostname you want to use (e.g.,
links.yourbrand.com). Nimriz matches hostnames strictly-plan your choice before creating campaigns, because changing it later means updating all previously shared links.
Step 1-Add the custom domain
- In your Nimriz dashboard, go to SettingsOrganizationDomains.
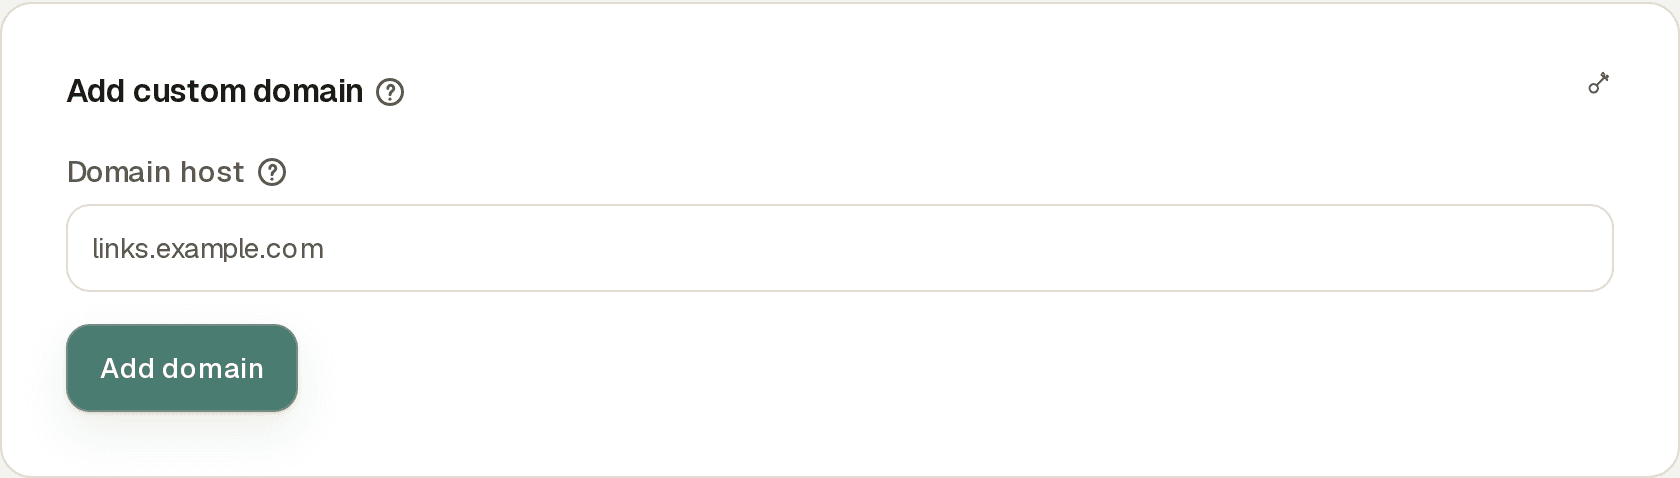
- Find the Add custom domain card.
- Enter your hostname in the Domain host field exactly as you want it to appear in short links, for example
links.example.com. Do not includehttps://or a trailing slash. - Click Add domain. The domain is added with a status of Pending.
From here, every domain moves through the same lifecycle:

Step 2-Publish the CNAME record for traffic routing
The main record you need is a single CNAME record that points your hostname at the Nimriz edge network. This is what makes visitors' browsers reach Nimriz when they follow one of your short links, and it is also what allows the SSL certificate to be issued automatically.
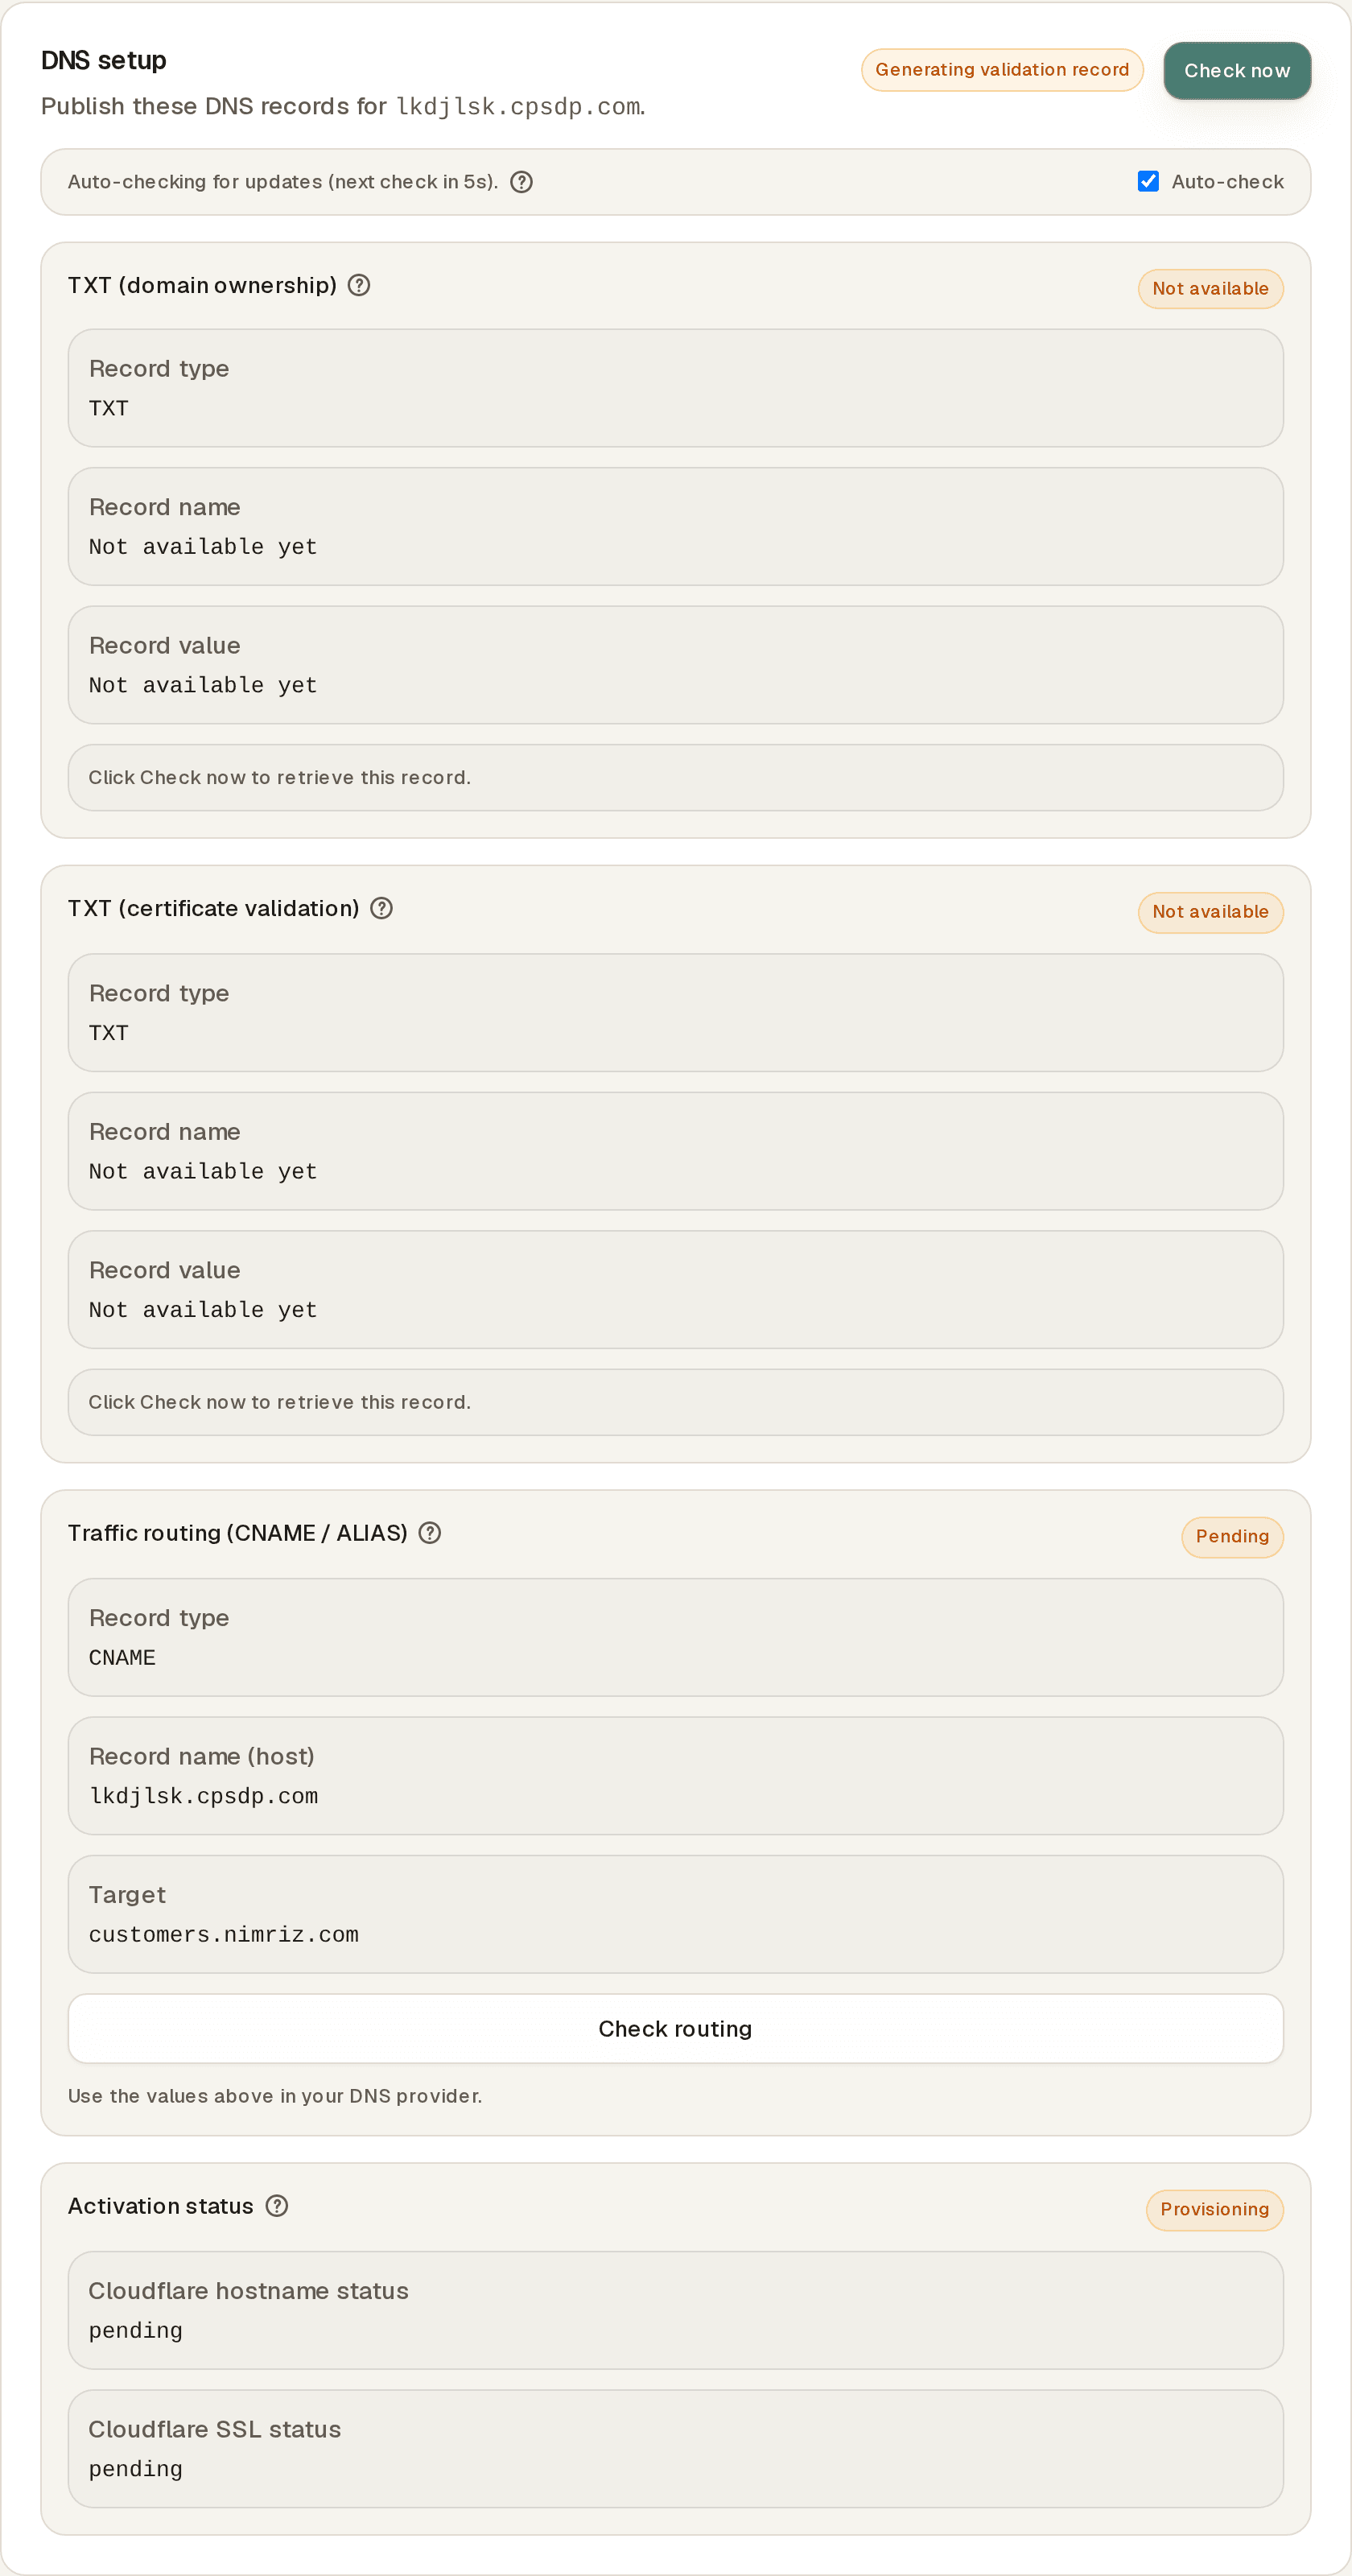
The required CNAME target is shown in your dashboard after adding the domain. It will look similar to:
Type:   CNAME
Name:   links.example.com   (or just "links" for subdomain setups)
Target: customers.nimriz.com
Always use the target shown in your own dashboard's DNS setup panel-it is environment-configured and authoritative.
Provider-specific notes:
- Cloudflare: Set the record's Proxy status to DNS only (grey cloud), not proxied. A proxied record hides where your hostname points and prevents Nimriz from confirming the routing.
- GoDaddy / Namecheap: Some providers append the root domain to the hostname field automatically. If the record name ends in your root domain (
example.com), you may only need to enter the prefix before it. Check your provider's documentation if unsure. - AWS Route 53: Enter the full record name in the Name field including a trailing dot if required by the interface.
Apex domains: if your hostname is an apex domain (example.com rather than links.example.com), standard CNAME records are not allowed at the apex. The DNS setup panel switches to ALIAS / ANAME (apex) in that case-use an ALIAS, ANAME, or CNAME-flattening record at a provider that supports them, pointing at the same target.
Step 3-Publish TXT records only if the panel shows them
In most setups the CNAME is the only record you need: ownership is confirmed and the SSL certificate is validated automatically once the routing record is live. The DNS setup panel shows this with the SSL certificate step marked Automatic.
Some hostnames additionally require one or two TXT records, for example when the hostname was previously connected elsewhere or when pre-validation is needed. When that applies, the panel lists each required record with its exact name and value:
- Copy the Record name and Record value shown in your Nimriz dashboard for each listed TXT record. Do not retype them by hand.
- Create a new TXT record for each one at your DNS provider, with the exact name and value from Nimriz. Do not alter the values in any way-even a trailing space will cause verification to fail.
- On Cloudflare, set TXT records to DNS only (grey cloud).
Once a step completes, the panel marks it Verified or Certificate issued and the corresponding TXT record is no longer needed. You can remove it from your DNS provider at that point.
Step 4-Trigger verification
- Return to SettingsOrganizationDomains in your Nimriz dashboard.
- Open your domain and click Check now in the DNS setup panel. While the panel is open, an Auto-check loop also re-queries DNS every few seconds. If the loop pauses, use Resume or click Check now.
- Nimriz checks the routing record plus any TXT records the panel lists. The domain moves to Verified once everything matches.
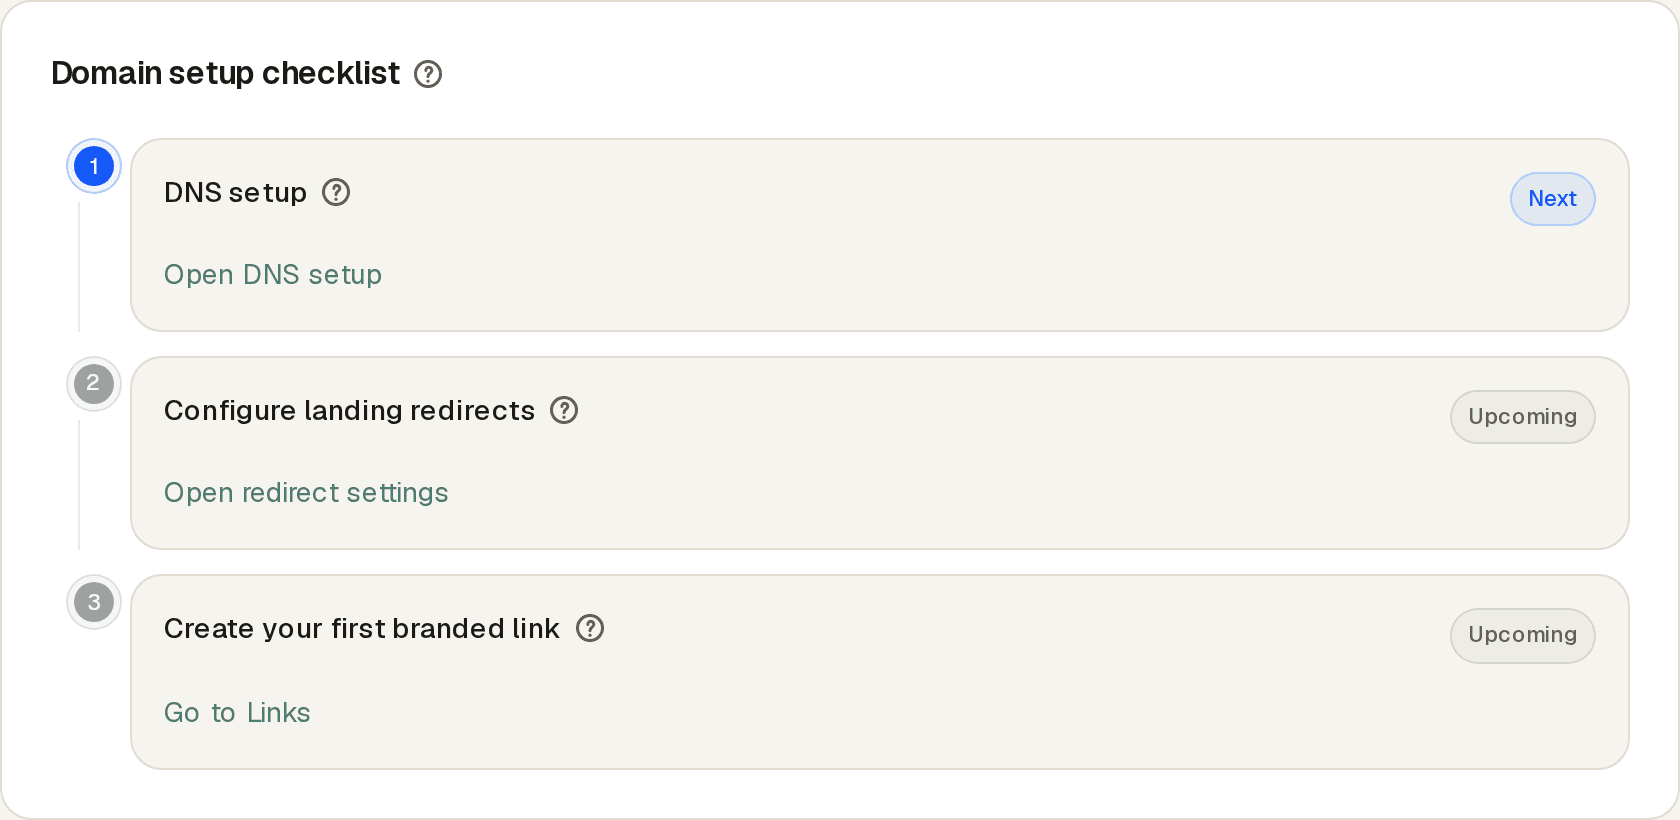
The Domain setup checklist on the domain page tracks where you are:
DNS propagation time: Changes to DNS records are not instant-they can take anywhere from a few minutes to a few hours to become globally visible, depending on your provider and the TTL (Time to Live) setting on your DNS records. If a record was checked before it existed, some resolvers can keep reporting it as missing for up to 30 minutes. If verification fails on the first attempt, wait 15-30 minutes and try again.
Step 5-Wait for Ready status
After the routing record is live, Nimriz activates the custom hostname on the Cloudflare edge and issues the SSL certificate automatically. While this runs, the DNS setup panel shows Provisioning SSL; the domain moves from Verified to Ready once activation is complete.
This typically takes 5-15 minutes. You do not need to do anything-the dashboard will update automatically.
Your domain is live for link creation and redirects only once it reaches Ready status. The distinction matters: a domain can be verified (ownership confirmed) but not yet ready (edge not yet activated). Links created on a domain that is not Ready will not redirect correctly until activation completes.
Testing your domain
Once your domain shows Ready:
- Create a test link using your custom domain and a recognizable slug (e.g.,
links.example.com/test-link). - Open the short link in a browser (or use
curl -I https://links.example.com/test-link). - Confirm you are redirected to the destination URL.
- Confirm the SSL padlock is present-Nimriz provisions SSL automatically for custom domains.
If the link does not redirect, check:
- The domain status in your dashboard (must be Ready, not just Verified).
- Whether the CNAME record is fully propagated (use a tool like dnschecker.org to check from multiple locations).
- Whether your link is active and not expired or disabled.
Domain constraints
- Strict host matching:
links.example.comandwww.links.example.comare treated as separate domains. Add each hostname you intend to use. - One canonical hostname per campaign: Decide upfront whether to use an apex domain (
example.com) or a subdomain (links.example.com). Mixing them requires managing two separate domain records. - Deep links: Deep link support (routing mobile visitors into your iOS or Android app) requires a verified, traffic-ready custom domain that is exclusive to one account. See Routing rules and preview for details.
- API access: Custom domains default to private API access, meaning all link-management API calls require a valid workspace API key.
Troubleshooting
Verification is stuck in Pending after several hours
- Confirm the CNAME (or ALIAS) record points at the exact target shown in the DNS setup panel. A routing record that is missing or pointing elsewhere keeps the domain Pending.
- If your DNS provider proxies traffic (for example Cloudflare's orange cloud), set the record to DNS only. Proxying hides where your hostname points and the routing check cannot confirm it.
- If the panel lists TXT records, confirm each one is published on the exact record name shown. The most common mistake is publishing it on the root domain (
example.com) instead of the name Nimriz shows. - Use a DNS lookup tool (
dig <your hostname>or an online checker) to confirm the records are visible from outside your network.
SSL certificate is not being issued
- Confirm the CNAME record is active and pointing to the correct Nimriz edge target. The certificate is validated through that routing, so it cannot issue until the record is live.
- If the domain was previously used on another service, remove any A records, old CNAME records, or CAA records that may conflict.
My domain went from Ready back to a non-Ready state
This can happen if DNS records are removed or modified after initial setup, or if a domain's Cloudflare edge activation expires. Re-check your CNAME record and trigger a re-verification from the dashboard.
Related guides
Related next steps
Ready to test this setup?
Create an account to try the workflow, or compare plans when the setup needs higher limits, integrations, or team controls.